Introduction
Travel photography isn’t just about owning a good camera — it’s about seeing the world differently. If you’ve ever wondered how to capture professional travel photos that look straight out of a magazine, the secret lies in preparation, storytelling, and smart technical choices.
From bustling city streets to remote mountain trails, every destination has a unique visual story. In this guide, you’ll learn how to plan, shoot, edit, and share travel photos that feel cinematic, authentic, and professional — even if you’re using just a smartphone.
Why Professional Travel Photos Matter
Professional travel photos don’t just look good — they tell stories, preserve memories, and inspire others. Whether you’re a blogger, influencer, or hobbyist, knowing how to capture professional travel photos helps you:
- Build a recognizable visual style
- Increase engagement on social media
- Attract brand collaborations
- Create lasting memories with emotional depth
Great photos connect people to places before they ever arrive.
Understanding Your Camera (Phone or DSLR)
DSLR, Mirrorless, or Smartphone?
You don’t need a $3,000 camera to capture stunning travel photos. Today’s smartphones can compete with entry-level cameras thanks to powerful sensors and AI processing. The key is mastering what you already have.
- Smartphones: Best for portability and quick shooting
- Mirrorless Cameras: Lightweight with pro image quality
- DSLRs: Excellent for low light and fast action
Essential Camera Settings to Know
If you want to capture professional travel photos, learn these basics:
- ISO: Controls brightness (keep it low for clarity)
- Aperture (f-stop): Controls depth of field
- Shutter Speed: Controls motion blur
Mastering manual or semi-auto modes will give you full creative control.
Mastering Light for Travel Photography
Light is everything in photography. The same location can look magical or dull depending on lighting.
Golden Hour and Blue Hour
The golden hour (just after sunrise and before sunset) creates warm, soft light.
The blue hour (after sunset or before sunrise) adds cool, cinematic tones.
Using Natural Light Creatively
- Shoot with light coming from the side
- Avoid harsh midday sun
- Use shadows for depth and contrast
Understanding light is a core step in learning how to capture professional travel photos.
Composition Techniques That Make Photos Pop
Rule of Thirds
Imagine your frame divided into nine equal squares. Place your subject along the lines or intersections for balance and interest.
Leading Lines
Roads, fences, rivers, and staircases guide the viewer’s eyes toward your subject.
Framing Your Subject
Use windows, arches, branches, or doorways to frame your scene naturally.
Choosing the Right Lens for Travel
Different lenses tell different stories.
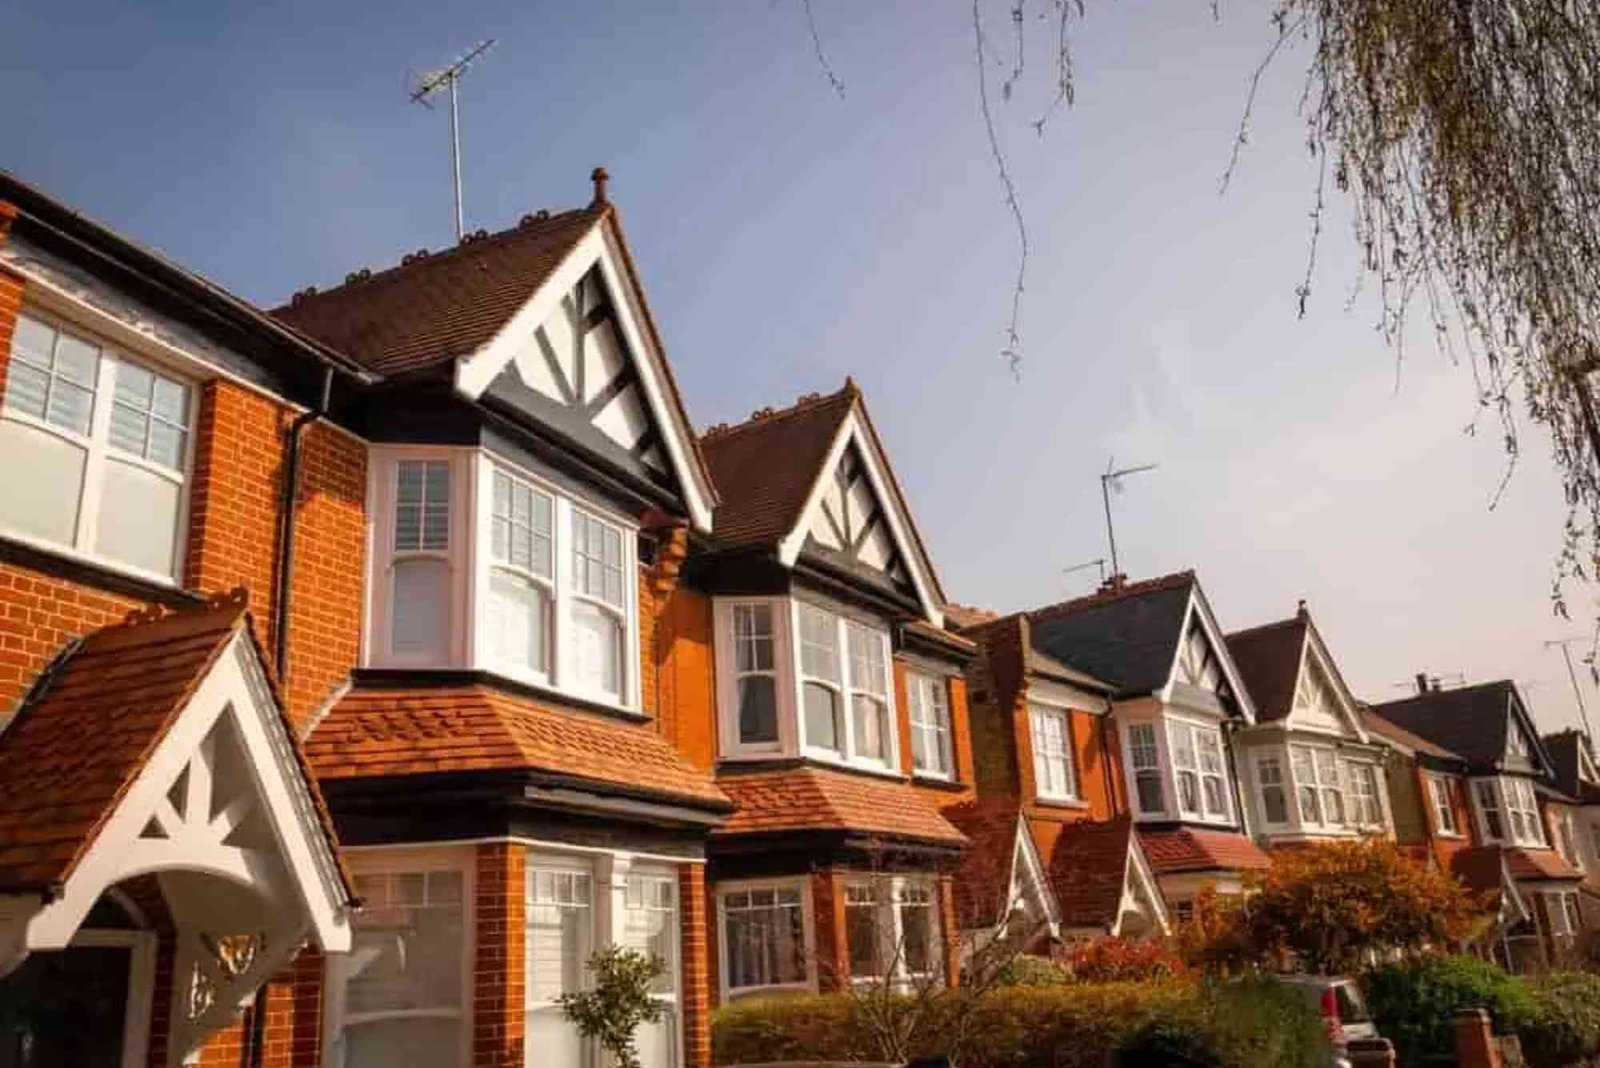
- Wide-angle (16–35mm): Landscapes and architecture
- Standard (35–70mm): Street and portraits
- Telephoto (70–200mm): Wildlife and details
Lens choice directly affects how professional your travel photos feel.
Telling a Story Through Your Travel Photos
Professional photos don’t just show places — they reveal emotions.
Capture Local Culture
Photograph markets, street food, artisans, and daily routines.
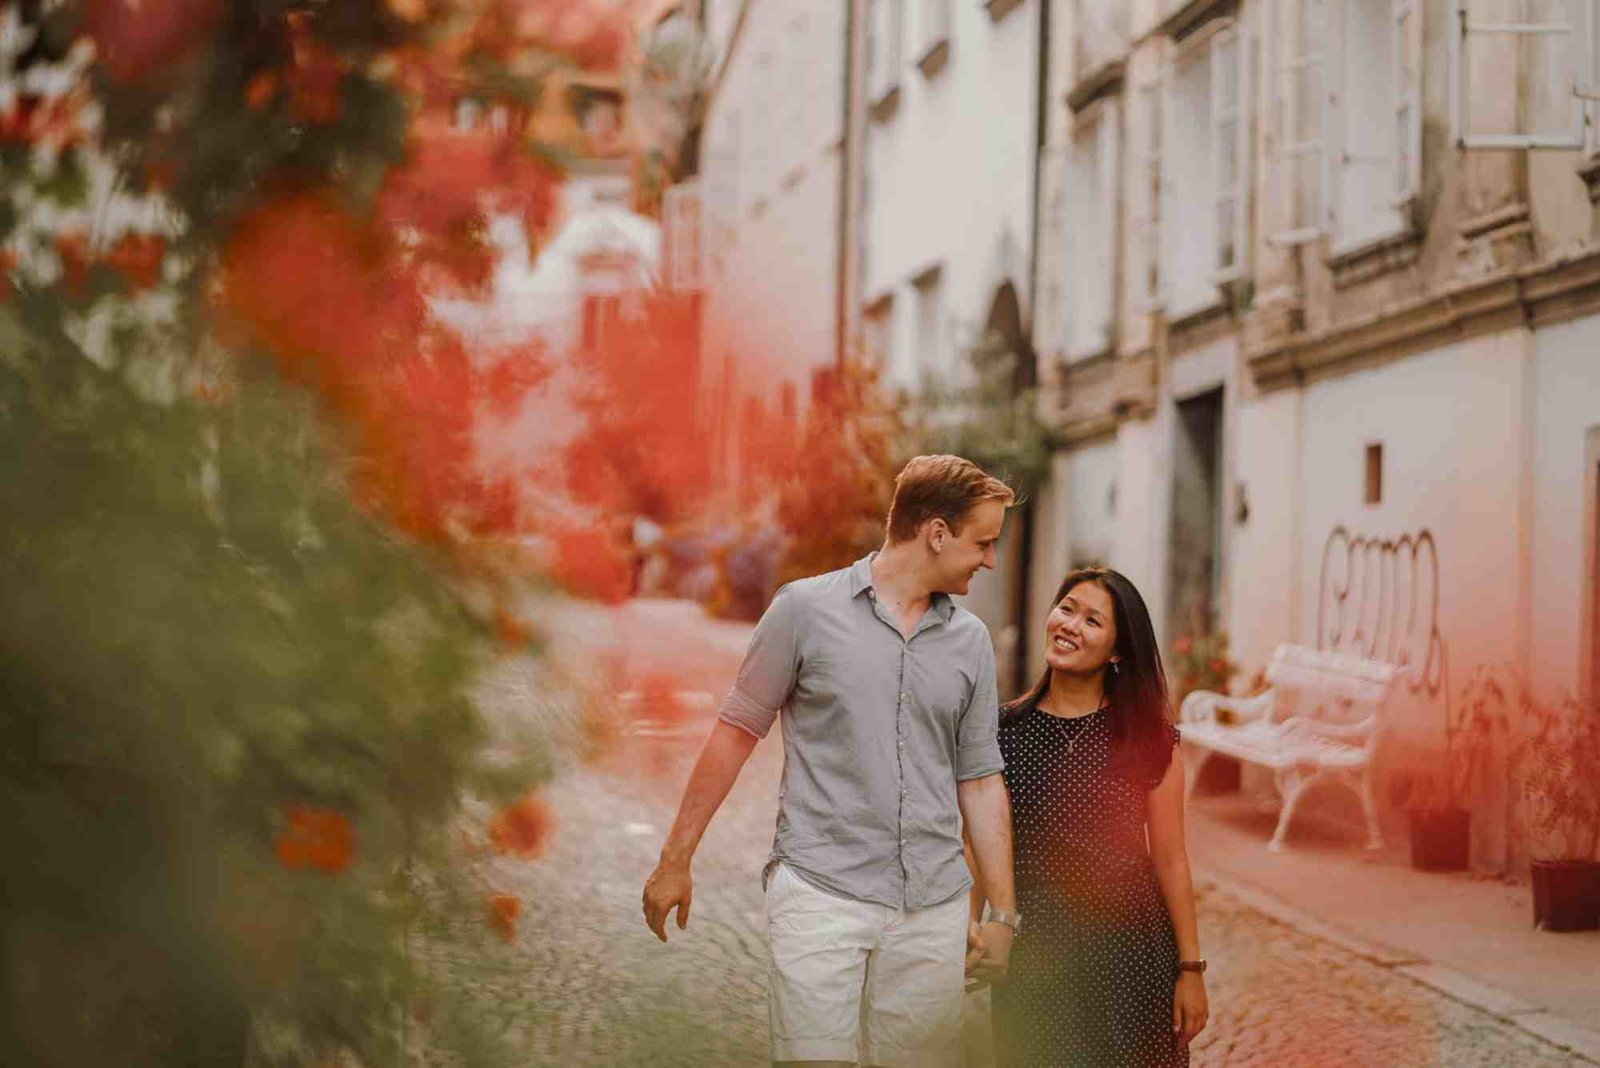
Show the Human Element
People bring life and scale to your images. Always ask for permission when possible.
Shoot Details and Wide Scenes
Combine big landscapes with close-up textures to tell a complete story.
Editing Workflow for Professional Results
Even the best photographers edit. Learning basic editing is essential if you want to capture professional travel photos.
Best Editing Apps
- Lightroom
- Snapseed
- VSCO
Editing Tips
- Adjust exposure and contrast
- Enhance colors naturally
- Sharpen lightly
- Avoid over-saturation
Planning Your Travel Photography Shots
Research Before You Go
Look for sunrise spots, viewpoints, and hidden gems. Platforms like Instagram and travel blogs are great inspiration sources.
Make a Shot List
Write down key landmarks, cultural scenes, and creative ideas.
Planning helps you capture professional travel photos even in short trips.
Shooting in Different Environments
Urban Travel Photography
Focus on symmetry, reflections, and street life.
Nature and Landscape Photography
Use wide lenses, tripods, and patience to wait for perfect light.
Beach and Tropical Photography
Protect your gear from sand and salt, and use polarizing filters for vibrant skies.
Common Travel Photography Mistakes
- Over-editing
- Shooting only landmarks
- Ignoring light direction
- Not backing up photos
Avoiding these mistakes will instantly improve your results.
Building Your Unique Photography Style
Study photographers you admire, experiment with colors, angles, and subjects. Over time, your style will naturally evolve.
FAQs
How do beginners take good travel photos?
Start with natural light, simple composition, and basic editing. Practice often.
What camera is best for travel photography?
Mirrorless cameras and smartphones are the most popular for travel.
How do I make my travel photos look professional?
Focus on lighting, composition, storytelling, and subtle editing.
Do I need expensive gear for travel photography?
No. Skills matter more than equipment.
Now you know exactly how to capture professional travel photos — from lighting and composition to editing and storytelling. The world is full of incredible moments waiting to be framed.
Top Tropical Islands You Should Visit is your guide to the world’s most breathtaking island escapes. From crystal-clear waters and white sandy beaches to lush jungles and rich cultures, these destinations offer the perfect mix of adventure and relaxation. Whether you dream of luxury resorts or hidden natural gems, tropical islands promise unforgettable travel experiences for every explorer.